
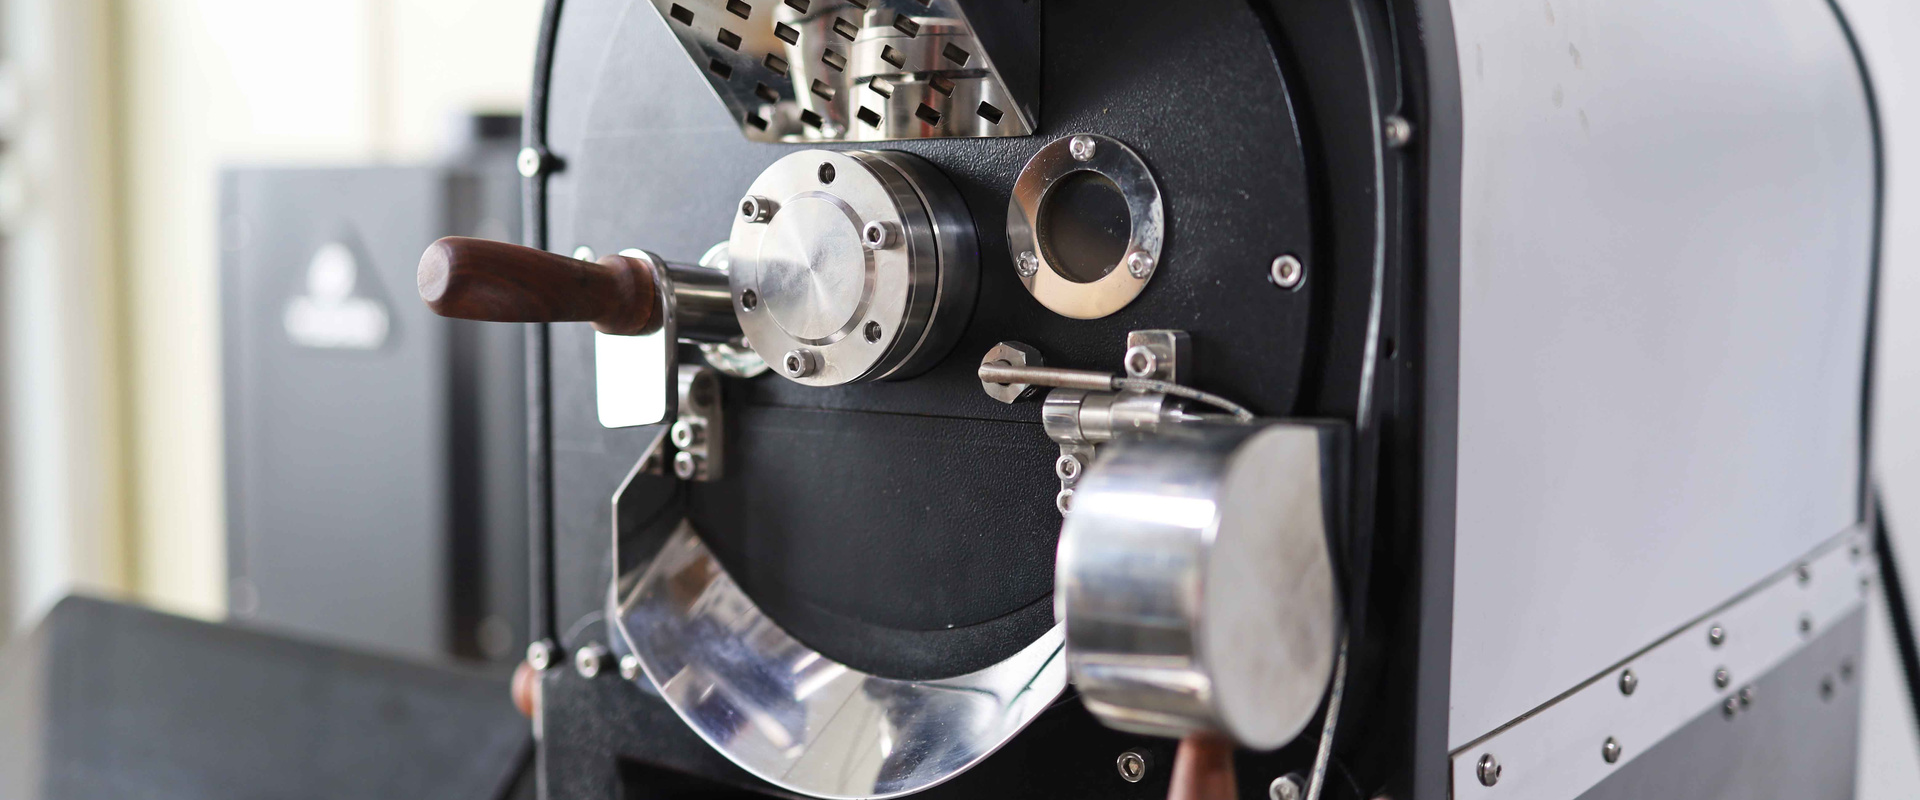
Your roaster is on a truck, or it has just come off one, and the question is what to do first. Coffee roaster commissioning is the week between delivery and the first batch you can sell: done in order it takes two to five days, protects your warranty, and gives you a machine whose behaviour you understand. Here is the sequence we give every buyer, starting the week before the crate lands.
The Week Before: Five Things Ready
- The duct route agreed and the materials on site — its own run to outside air, a cleanout, as few elbows as possible. The ventilation guide has the sizing.
- The circuit installed to the nameplate rating, with the machine's voltage and phase confirmed against what we built — the voltage guide if there is any doubt.
- The gas point in place, and a licensed gas fitter booked for day one.
- A route from the truck to the machine position — pallet jack or forklift, and a doorway wider than the crate, not the machine.
- About 20 kg of the cheapest green coffee you can find for the seasoning batches.
If you are setting up a full production room, the plant setup guide covers the building; this page is the machine.
Day 0: Uncrating and Inspection — Before You Sign
Photograph the crate on the truck, before it is opened. Visible damage, a crushed corner, a tripped shock indicator: note it on the delivery paperwork before the driver leaves, because a clean signature makes a freight claim very hard afterwards.
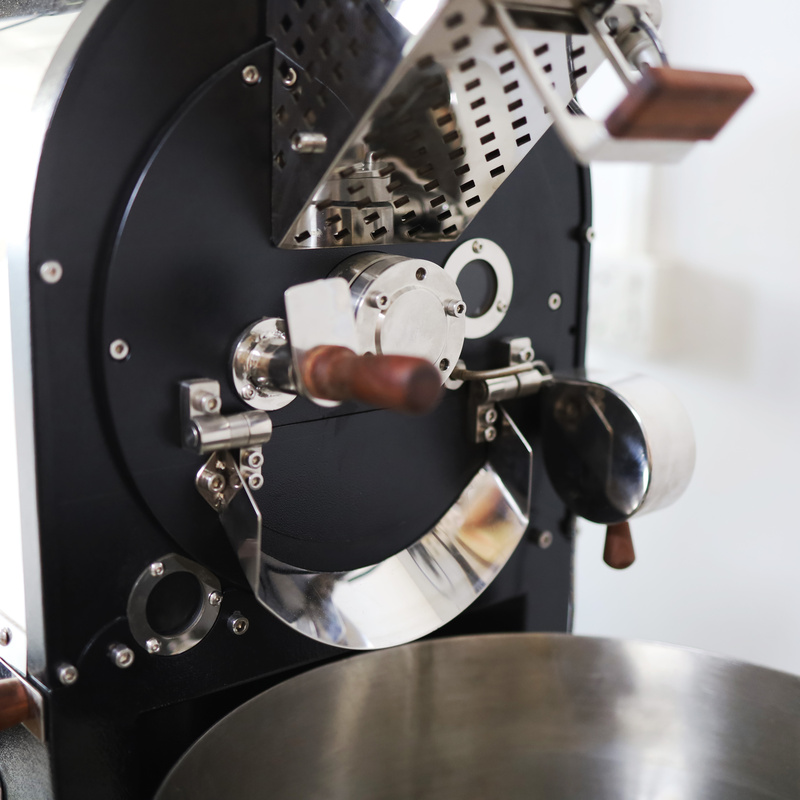
Then work through the packing list: drum, chaff cyclone, cooling tray and fan, control panel present and undamaged; panel glass and display intact; drum door and trier moving freely; the loose-shipped items — exhaust flange, cyclone ducting, trier, spare belts, tool kit, manual and wiring diagram — all accounted for. Read the nameplate: voltage and phase must match the supply you told us about at order. Check it now, not after the electrician has gone.
Turn the drum by hand. Smooth, no scraping. A light metallic contact usually means shipping bolts still fitted or a drum that shifted in transit; send us a video before you force anything.
Day 1: Position, Level and Connect
Level it. A roaster that is not level discharges unevenly and drains the cooling tray badly. Spirit level across the drum axis and front to back; shim the feet to within about 2 mm per metre. On a 30 kg machine the drum is heavy enough that a sloping floor pulls it out of line over time.
Leave clearance. 500–800 mm behind and beside, depending on size, so the bearings can be greased, the belts checked and the cyclone emptied. A machine pushed against a wall on installation day becomes a machine nobody maintains.
Exhaust. Its own dedicated duct — never shared with a kitchen hood or another appliance — with the cyclone connected and sealed before the first heat cycle.
Electrical — a licensed electrician, not you. They verify supply against the nameplate, a proper earth, the circuit rating for the full load with the cooling fan (a filter or afterburner on its own circuit), and rotation direction. On three-phase machines a reversed phase sequence runs the drum and exhaust fan backwards: the machine seems dead, or smokes badly. The fix is swapping any two incoming phases at the isolator — a two-minute job — but confirm the drum turns the way the arrow on the housing says before you ever apply heat.
Gas — a licensed gas fitter. They set the inlet pressure to the nameplate figure, confirm the burner is jetted for your fuel (LPG and natural gas use different injectors, set at the factory from what you told us), and soap-test every joint. No first light before that is signed off.
Day 2: Burn-In and Drum Seasoning
Every new roaster leaves the factory with protective oil on machined surfaces and freshly cured paint on the housing. Put green coffee in before that is burned off and your first several batches taste of it. Seasoning is why your first saleable roast is day three, not day one.
| Stage | What you do | What is normal |
|---|---|---|
| 1. Dry run, no heat — 15 min | Drum and fans only. Listen. | Even mechanical hum. No scraping, no squeal. |
| 2. Low-temperature burn-in — 30–45 min | Empty drum, gentle heat to about 150 °C, exhaust running. | Light smoke and a paint or oil smell. Ventilate; keep people out of the room. |
| 3. High-temperature soak — 30–60 min | Raise gradually to 200–230 °C and hold. Do not shock the drum with full heat. | The smell fades. Ticking as metal expands is normal. |
| 4. Seasoning batches — 3–5 roasts | Your cheapest green, 50–70% of rated capacity, taken to a dark roast — into second crack — so the oils coat the drum. Discard every one; the first can carry machining residue and lubricant. | The first batch may smell off. By the third it smells like coffee. |
| 5. Calibration batches — the next 8–12 roasts | Real coffee, consistent batch size, log everything. | Profiles drift slightly as the thermal mass settles, then stabilise. |
Stage 5 is the one buyers skip and then misjudge the machine: drum, housing and refractory reach their working equilibrium over the first dozen roasts. Judge the roaster on batch fifteen, not batch two. The profile development guide picks up from there.
Day 3: Verify the Instruments Before You Trust Them
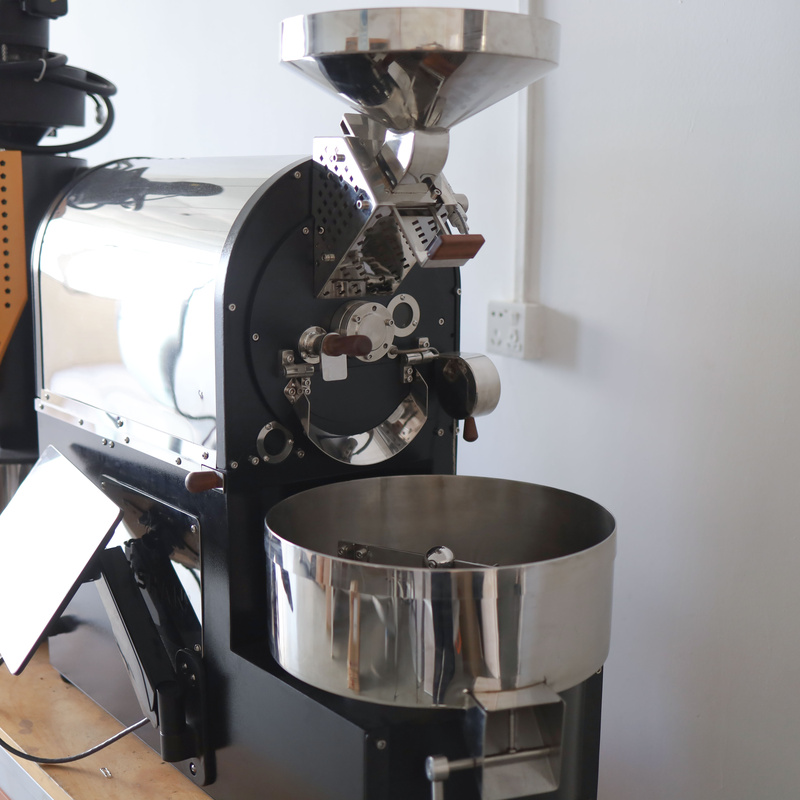
Your bean and environment probes are about to become the basis of every decision for ten years. Check them once:
- Ice water: a probe in a stirred ice-and-water slurry should read close to 0 °C.
- Boiling water: close to 100 °C at sea level, lower at altitude.
- Position: the bean probe tip must sit in the bean mass, not in the air above it. A reading that is high and fast usually means it is too far from the beans.
Then connect your logging. On the DY and SD manual machines, follow the Artisan connection guide — USB and Bluetooth, and the settings that catch DY owners. On the YS series and SD Pro, logging and profile playback run on the PLC; Artisan is optional.
Week 1: The Three Break-In Checks
| When | Check | Why |
|---|---|---|
| After ~20 running hours | Re-tension the drive belts | New belts stretch; a squeal on start-up is the first symptom |
| End of week one | Re-torque external fasteners, flange bolts, duct clamps | Heat cycling loosens fixings that were tight cold |
| Daily, first week | Feel the bearing housings after cooldown | Warm is fine; too hot to touch, or a rising growl, means alignment or lubrication — call us before the next batch |
And from the first session: empty the chaff cyclone every time. Chaff is the commonest cause of roaster fires; the fire safety guide is worth reading before the first full production day, and the maintenance schedule takes over once commissioning is done.
Normal, or Stop Immediately
| Symptom | Verdict |
|---|---|
| Paint or oil smell and light smoke in the first two heat cycles | Normal — that is what seasoning is for |
| Ticking as metal expands and contracts | Normal |
| Belt squeal on start-up after a few days | Expected break-in — re-tension |
| Sharp electrical or burning-insulation smell | Stop. Isolate power. Contact us. |
| Continuous metallic scraping from the drum | Stop. Send a video before roasting again. |
| Smoke from the front of the machine instead of the flue | Stop. Fan direction, blocked duct or unsealed cyclone |
Every machine carries a one-year warranty on the complete unit, and support runs on WhatsApp with video — pointing a phone at the machine is the fastest diagnosis there is. The after-sales guide shows four real cases, including the phase-sequence one.
Frequently Asked Questions
How long does commissioning take?
Two to five days for the machine: one for positioning, levelling and the trades, one for burn-in and seasoning, one for instrument checks and the first real batches. Then expect one to two weeks of roasting before your profiles repeat, because the machine's thermal behaviour is still settling. If the room is ready when the crate lands — duct, circuit, gas point — the short end of that range is realistic.
Do I really have to season a new drum?
Yes, and the trade is unanimous on it. Three to five batches of cheap coffee taken dark and thrown away coat the drum with oil, burn off the factory finish and clear any machining residue; skip them and your first paying customers taste the factory. It costs a sack of green and a morning, against a warranty question and a bad first impression.
My three-phase roaster will not start properly — what is the likeliest cause?
Reversed phase sequence. With the phases in the wrong order the drum and exhaust fan run backwards, so the machine seems dead or fills the room with smoke. Your electrician swaps any two incoming phases at the isolator and it runs; it is the single most common "first machine would not start" message we get, and it takes minutes once someone looks for it.
Can I install the roaster myself?
You can position and level it. The electrical connection must be made by a licensed electrician and the gas by a licensed gas fitter — in most countries that is the law, and doing otherwise voids the warranty and usually your insurance. We send the wiring diagram, gas specification and installation drawing before delivery so both trades have what they need on the day.
What do I get from you for commissioning?
The test-roast video of your machine from the factory, the wiring diagram, gas specification, footprint and crate dimensions, and a commissioning checklist matched to your model — all before the container lands, so the electrician, gas fitter and haulier can each do their part. Then a video call on the day you first light it, if you want one, to walk through the seasoning cycles together.
Final Thoughts
Coffee roaster commissioning is a week with an order to it: room ready, crate checked, level and connected by the right trades, seasoned before the first real coffee, instruments verified, belts re-tensioned. Follow it and the machine you understand on day five is the one you run for fifteen years. Send us your delivery date and we send the checklist for your model. Talk to our engineers.
Get a Quote → WhatsApp +86 184 0771 4607Last updated: September 17, 2026
Pingback: 5 kg Coffee Roaster: Output, Specs and What to Check Before Ordering | Yoshan
Pingback: Coffee Roaster Voltage Guide: 110V, 220V, 380V by Country | Yoshan
Pingback: How to Buy a Coffee Roaster from China: Fix These Four First | Yoshan
Pingback: Coffee Roaster After-Sales Support: Four Real Cases | Yoshan
Pingback: Roast Profile Scaling: What Transfers Sample to Production | Yoshan
Pingback: YOSHAN, Coffee Roaster Manufacturer in China: What We Build | Yoshan
Pingback: Coffee Roaster Ventilation Requirements: Airflow, Ducts, Burners
Pingback: Shipping a Coffee Roaster from China: Landed Cost in 5 Lines | Yoshan
Pingback: Coffee Roaster Case Study: A Custom YS-6 Line in Oman | Yoshan
Pingback: Coffee Roaster Batch Size Guide: Usable Window, What Breaks | Yoshan
Pingback: Coffee Roaster Installation Checklist: 5 Deadlines to First Roast