
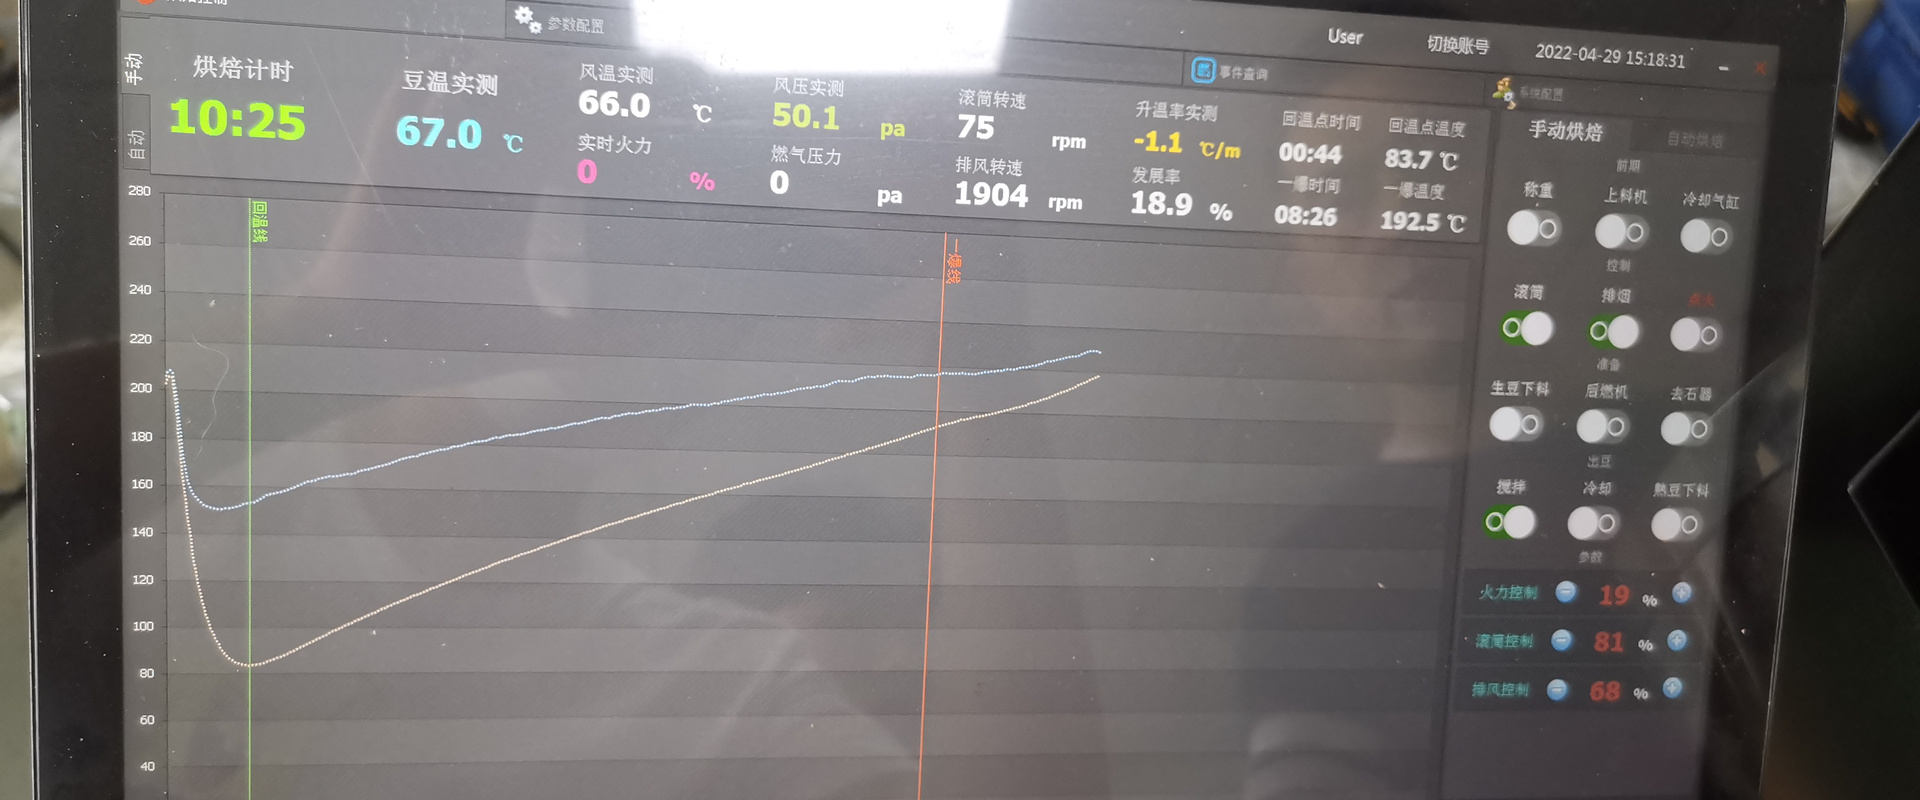
If your roaster has just arrived and you are wondering how to develop a coffee roast profile, the honest first thing to know is that the profiles you have downloaded will not work as they are. A profile is a record of what one machine did to one coffee in one room. Yours is a different machine. Here is how to build a profile that belongs to your drum, in three batches, and what to watch in each phase.
What a Roast Profile Actually Is
A profile is the bean temperature plotted against time from the moment you charge the drum to the moment you drop the batch, plus what you did along the way — gas, airflow, drum speed. Two curves matter: the bean temperature itself, and its rate of rise (RoR) — how many degrees per minute it is climbing. Most of what people mean by "a good profile" is a rate of rise that falls smoothly and never stalls or crashes.
Why Copied Profiles Fail on Your Machine
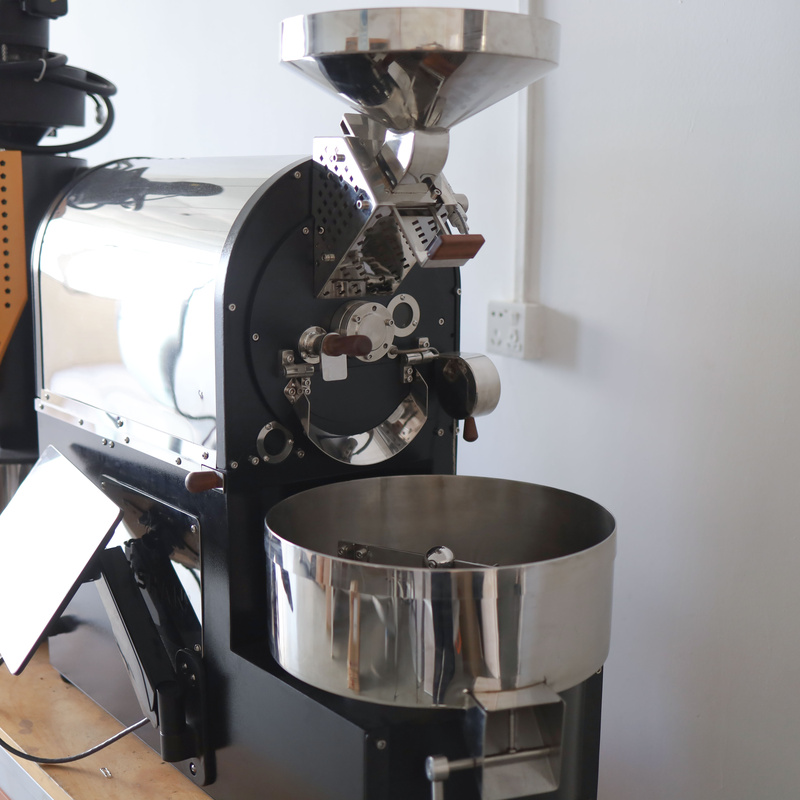
Four things change the curve between one roaster and another, and none of them is on the spec sheet:
- Drum mass and material. A cast iron drum stores more heat than a stainless one, so the same gas setting produces a different bean curve.
- Probe position. Two machines with the probe a centimetre apart read different temperatures at the same moment. The number is the probe's, not the bean's.
- Batch size. A profile at 5 kg on a 6 kg drum does not transfer to 3 kg on the same drum, let alone to another machine.
- Your room. Altitude, air density and ambient temperature all shift the curve — enough that two experienced roasters in different cities cannot swap profiles directly.
So use downloaded profiles for their shape — where first crack lands, how long development runs — and build the actual numbers on your machine. The profile scaling guide covers the same problem going up a drum size.
The Five Reference Points
Every profile you build needs these five marked, because they are what you compare between batches:
- Charge temperature — the drum temperature when the beans go in.
- Turning point — the lowest bean temperature after charge, typically a minute or so in, when the beans stop cooling the probe and start heating.
- End of drying — around 150°C bean temperature, when the beans turn from green to yellow and smell of grass and bread.
- First crack — the audible pop, usually somewhere in the 195–205°C range on the bean probe, where the beans expand and release steam.
- Drop — when you end the roast.
Development time — from first crack to drop — as a share of total roast time is the number most specialty roasters watch, commonly 12–20% depending on style: lighter, brighter roasts at the low end, sweeter and darker roasts at the high end, and darker still beyond it. Shorter keeps acidity and origin character; longer builds sweetness and body and risks flatness if pushed.
Phase 1: Drying — Charge to About 150°C
What you are doing: removing moisture evenly so the beans arrive at browning together.
What to watch: rate of rise. On a 3–6 kg drum a steady 5–10°C per minute through this phase is normal. Too slow and you bake the beans and lose sweetness; too fast and the outside outruns the inside. Set your charge temperature and initial gas so the turning point comes cleanly and the rise settles into that band.
Phase 2: Browning — 150°C to First Crack
What you are doing: the Maillard reactions that build the flavour compounds, colour and aroma.
What to watch: the rate of rise should be falling steadily, not holding flat and not dropping in a step. Most gas adjustments happen here. If you drop the gas too hard the rise stalls — a flat patch that reads as baked, papery coffee. If you leave it too high the rise runs into first crack too fast and you get a sharp, uneven roast.
Phase 3: Development — First Crack to Drop
What you are doing: deciding the roast level and finishing the interior of the bean.
What to watch: the rate of rise will surge briefly at first crack — the beans release energy — then fall. Aim for it to keep falling gently rather than crash to zero, which reads as flat and hollow in the cup. Reduce gas before first crack, not after, so the curve is already easing when the crack arrives. Airflow up a step here on our semi-hot-air drums clears smoke and keeps the cup clean.
Then drop, and cool fast — our trays bring a batch down in one to two minutes, which stops development where you chose it. The cooling guide covers why that matters.
The Three-Batch Method for a Baseline
Do this with one coffee you know, at the batch size you will actually run:
Batch 1 — find your machine. Charge at a middle temperature for the drum (on our 3–6 kg drums, roasting begins after a preheat to about 180°C), a moderate gas setting, airflow mid. Do not chase anything. Log the whole roast and note the five reference points.
Batch 2 — fix the drying phase. Adjust charge temperature and initial gas so the turning point and end of drying land where you want them. Change one thing.
Batch 3 — fix the finish. Adjust the gas step before first crack so the rate of rise eases into development without stalling or crashing. Change one thing.
Cup all three a day later, side by side. The one you like is your baseline for that coffee on that machine. Every other coffee starts from it. That is profile development: not a recipe you find, a baseline you build.
Moving the Baseline to a Different Coffee
Once you have a baseline, every new coffee is an adjustment from it rather than a fresh start. Three properties of the green coffee tell you which way to move.
Density. High-grown, washed coffees are dense and hard; they need more energy early — a slightly higher charge temperature or more initial gas — or the drying phase drags and the cup comes out flat. Low-grown, soft or older coffees take heat faster; start lower or the outside runs ahead of the inside. Decaf is the extreme case: pale, porous and quick to colour, it wants noticeably less heat and closer attention after first crack.
Process. Naturals carry more sugar on the seed and scorch more easily; charge a little cooler and keep the airflow up from the start. Washed coffees tolerate a stronger push.
Moisture. Fresh crop at 11–12% moisture behaves differently from the same coffee at 9% a year later, which is why last season's saved profile is the starting point, not the answer.
Two warning signs — a stall in browning and a crash-and-flick at first crack — are described in the phase sections above, and both show in the log before you taste them, which is the argument for logging every batch.
On development time, the 12–20% band above is a check that you are in the right territory for the style; let the cupping table settle the exact number for each coffee.
Recording It: Artisan or the PLC
None of this works without a log. Every batch on our DY machines can log to Artisan by USB or Bluetooth, and the SD and YS machines can be fitted with an Artisan interface at order; the SD Pro and YS machines also log on the PLC and can save the profile to run automatically once you are happy with it. Save the baseline with the coffee name, batch size and date. Six months later, when the crop changes, you will want to see what you did.
Frequently Asked Questions
I cannot hear first crack clearly. What do I do?
Watch the curve instead: first crack shows as a brief flattening or a small bump in the rate of rise a few minutes after the beans turn yellow-brown, and on a gas drum you can often see the drum temperature dip as the beans release energy. Open the trier every thirty seconds in that window and smell for the change from bready to sweet. A quieter room and a lower airflow for a few seconds help too.
How much coffee do I waste developing a profile?
Three batches for the baseline plus a batch or two for each new coffee — on a 3 kg drum, ten to fifteen kilos of green over the first fortnight, most of it drinkable if not sellable. It is the reason to develop on the size you will actually run, and, if you buy by the sack, to keep a sample roaster for the first pass; the scaling guide explains moving a profile between sizes.
Should I roast to a colour, a time or a temperature?
To all three, in that order of trust: colour and cup decide whether the roast is right, time and temperature are how you get back to it. A drop temperature is only meaningful on your probe on your drum; a colour reading and a cupping score travel between machines and days. Log all three every batch and the number you actually use will pick itself.
How often should I re-check a saved profile?
Every time the green changes — a new crop, a new lot, a sack that has sat through a humid month — and at least once a season anyway. Roast one batch on the saved profile, cup it against the retained sample from when the profile was proven, and adjust the charge temperature first if it has drifted; the cupping lab guide sets out the retained-sample routine.
Does the PLC do any of this for me?
It replays the settings you found and logs the result, which removes the drift from your hand and lets someone else run your profile. It does not find the profile, notice a new crop, or taste the cup. Develop the profile in manual mode, save it when the cupping table agrees, and let the PLC repeat it.
Final Thoughts
Coffee roast profile development is not finding a recipe; it is building a baseline on your own drum in three logged batches and cupping them side by side. Our machines give you the log and the control to do that, and our engineers have watched hundreds of first profiles built. Send us your first curve and we will look at it with you. Talk to our engineers.
Get a Quote → WhatsApp +86 184 0771 4607Last updated: September 17, 2026
Pingback: Coffee Roaster Cooling & Quenching: Protect Your Roast
Pingback: Coffee Roast Defects: Tipping, Scorching, Baking and the Fix | Yoshan
Pingback: Roast Profile Scaling: What Transfers Sample to Production | Yoshan
Pingback: Coffee Roaster Thermocouple Calibration: 3 Checks First
Pingback: Connect Your Coffee Roaster to Artisan: USB, Bluetooth, Fixes | Yoshan
Pingback: Green Coffee Storage & Buying: How Much to Hold, Four Numbers | Yoshan