
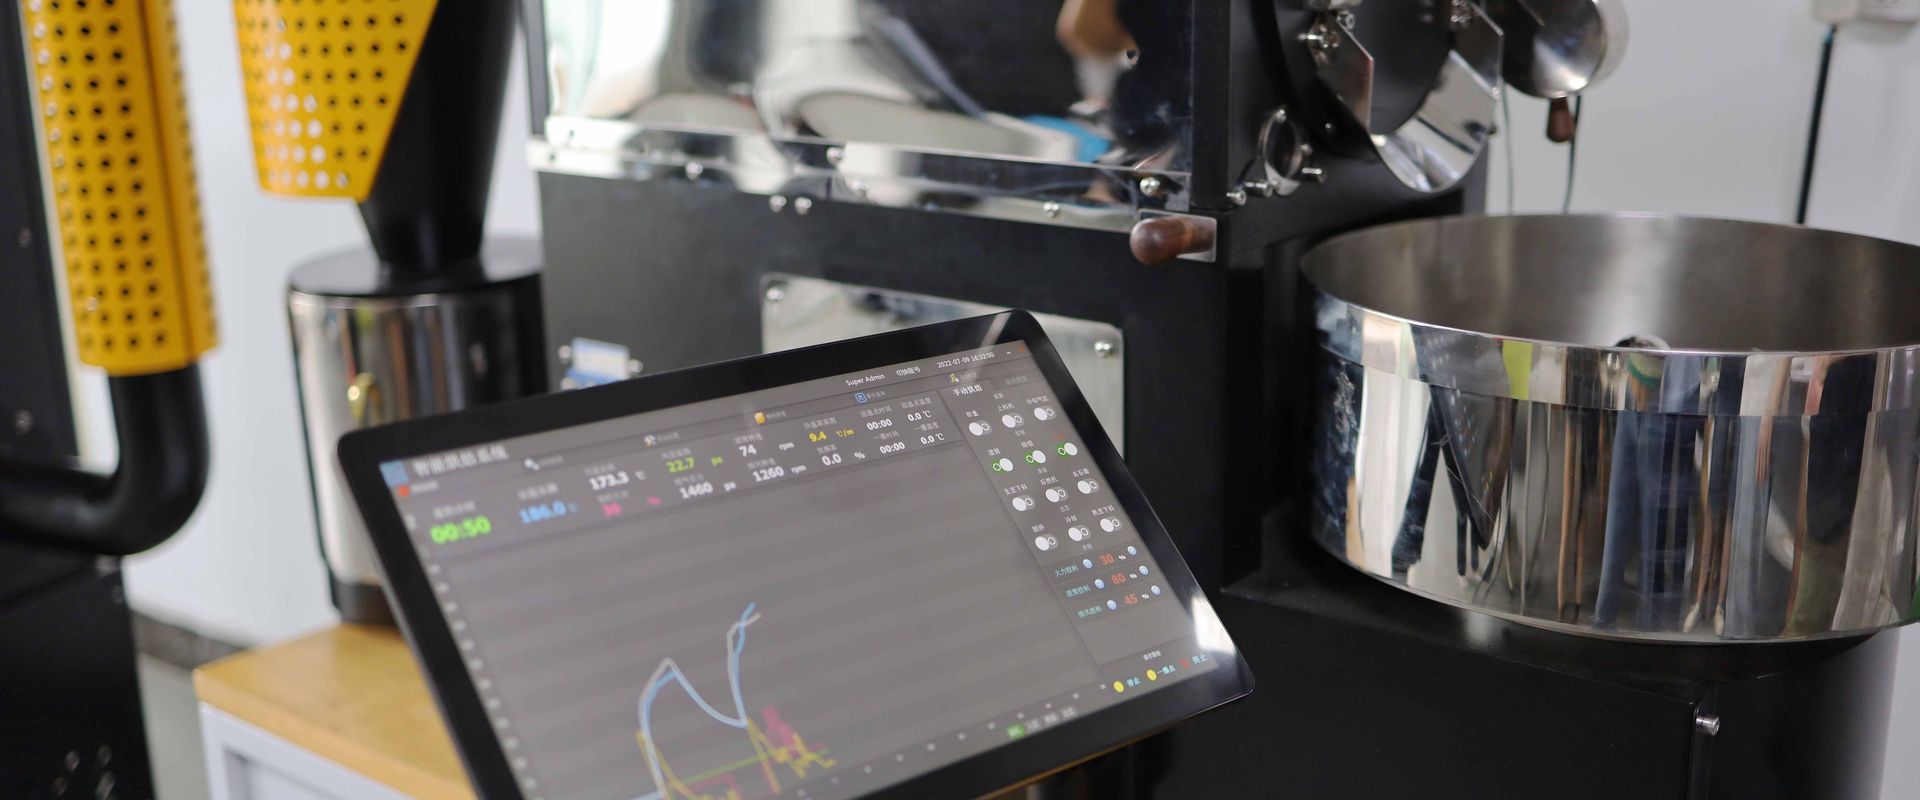
Rate of rise in coffee roasting is usually explained as a way to read one roast: watch the curve, avoid the crash, land the development. Once you are running thirty batches a day it does a second job the tutorials skip — it tells you whether your machine has enough burner, whether your probe is still honest, and whether your twelfth batch is drifting from your first. This guide covers the definition briefly, then reads RoR the way you will need to read it.
What RoR is, in one paragraph
Rate of rise is how fast the bean-temperature probe is climbing, expressed as degrees per minute: RoR = (T₂ − T₁) ÷ the time between the two readings. Artisan or your PLC computes it every few seconds and plots it as a second curve under the temperature curve, so you are reading two lines at once. After the turning point it peaks, then declines through the roast; at first crack it usually dips as the beans release energy and moisture; ideally it keeps declining gently to the drop. Two named faults are a crash — RoR falling steeply and near zero after first crack, associated with flat, baked flavours — and a flick, RoR rising again after the dip, associated with roasty, ashy notes. How the two probes that feed the curve behave is in bean temperature vs exhaust temperature.
The figures roasters quote as typical are a peak somewhere around 15–25 °C per minute on a mid-size drum and a rate of about 3–8 °C per minute at the drop, with development time — first crack to drop — commonly 20–25% of the total. Treat these as references, not targets. RoR depends on your probe's size and position, so the only curves worth comparing are the ones from your own machine — someone else's numbers will mislead you.
Reading 1 — peak RoR is your burner headroom
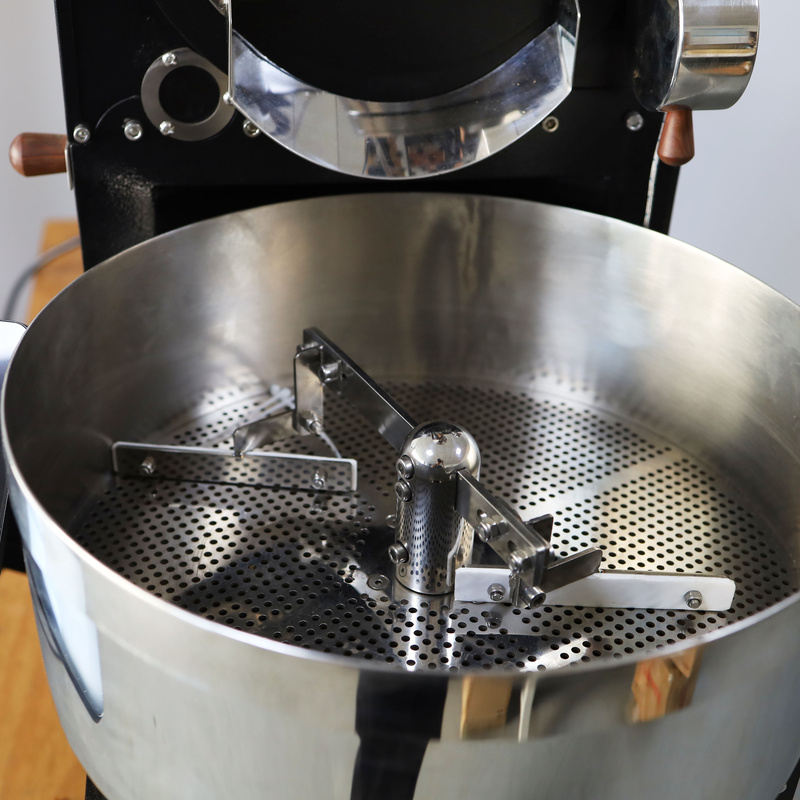
The peak of the RoR curve, a few minutes after charge, is the fastest your machine can push heat into that batch at that setting. Watch it across your batch sizes:
- At a comfortable load your machine hits its peak with the burner well below maximum, and you still have power in reserve to correct a slow roast.
- At the top of its range it hits a lower peak with the burner already at full, and you cannot recover when the room is cold or the coffee is dense.
That is why the same 12 kg machine roasts an easy 8 kg and a struggling 12 kg, and why our catalogue states batch ranges — the YS-12 at 1–13 kg, the SD-12 Pro at 3.5–13 kg — rather than one number. If your peak RoR falls noticeably as you move up the range, you have just found your machine's real production capacity, whatever the nameplate says — and that is the number to plan your week around. Log peak RoR against batch weight for a month and the ceiling draws itself; sizing from that is in the coffee roaster batch size guide.
Reading 2 — RoR around first crack is your probe and your thermal mass
Two things blur your RoR signal at first crack. One is the probe: a thick thermocouple, or a thin one coated with oil and chaff, lags the real bean temperature and smooths your curve, so the dip appears late and shallow and you react late. A probe reading a few degrees low after a hundred or so batches is normal, which is why cleaning it belongs on your schedule rather than in your memory.
The other is your drum. A heavy cast-iron drum — the construction of our SD and YS series — stores heat and hands it back through first crack, so your RoR declines more steadily and a crash is easier to avoid; a light stainless drum answers the burner faster but gives back less, so you have to add heat earlier. Neither is wrong, but they need different profiles from you, which is the point of cast iron vs stainless steel drums. If your RoR behaviour through first crack changes on the same machine with the same coffee, suspect your probe before your coffee.
Reading 3 — RoR drift across the day is your between-batch discipline
Lay a day's RoR curves over one another. If your peaks creep upward and first crack comes earlier through the morning, your machine is accumulating heat between batches — you are hitting charge temperature, but the drum and walls are hotter each time. If the peaks sag after lunch, it has cooled. Either way your profile has moved without anyone touching a setting, and the batches you sold in the afternoon are not the ones you approved in the morning.
Your fix is procedural, not thermal: a fixed interval between drop and the next charge, a fixed burner setting during that interval, and a charge triggered by the clock as well as the thermometer. That routine is the between-batch protocol, and RoR drift is how you check whether your team is actually following it. On a PLC machine the program enforces the interval; on a manual machine your operator does, and your overlay tells you whether they did.
What to log, per batch
| Number | Why it matters in production |
|---|---|
| Batch weight and charge temperature | Baseline for every other reading |
| Peak RoR and the time it occurs | Burner headroom, room and drum temperature |
| RoR at first crack and the time of first crack | Probe health, thermal mass, drift |
| RoR at drop and development time ratio | Whether the profile landed |
| Burner and damper settings at each phase | Reproducibility across operators |
A page a day, or a software log, is enough for you. The value is in the overlay across days and operators — no single batch will tell you anything, and three weeks of them will tell you almost everything about your machine.
Which control level lets you do what
Every machine we build shows you rate of rise. What differs is what you can do about it, and that is really a question about who is standing at the roaster.
Artisan on a laptop — our DY series connects by USB or Bluetooth — plots RoR live, stores every batch and overlays them for you. The reaction is yours: you read the curve and move the gas and the damper. Setup is in connecting a coffee roaster to Artisan.
PLC touch screen with stored profiles — the SD Pro series — runs the burner and damper against your saved curve, with manual override. The controller follows RoR, so your batch-to-batch drift is much smaller and your operator's job becomes watching for exceptions rather than driving every roast.
Siemens touch screen with independent motors — the YS series — adds separately controlled drum speed and fans, so you have more levers to move RoR with, plus preset temperature, heat and airflow values the screen watches for you through the roast.
None of them makes your coffee taste better by itself. What they decide is who has to be standing at the machine, and how closely your twelfth batch matches your first — which matters the day you hire someone. The comparison is in manual vs automatic coffee roasters.
FAQ
How do you calculate rate of rise?
Subtract the earlier bean-temperature reading from the later one and divide by the minutes between them. Artisan and PLC controllers do this every few seconds and smooth the result, so your interval setting changes how noisy the curve looks. Pick one setting and leave it — half the "my curve changed" questions are really a changed smoothing window.
Can I compare my RoR curve with another roastery's?
No, and trying to will cost you batches. Probe thickness and position change the numbers, so a curve from a different machine is a different measurement. Compare your own batches with each other, and if you want an outside reference, compare the shape — peak, decline, dip, landing — rather than the degrees per minute.
My software shows RoR but my machine has no PLC. Is that enough?
For one operator, yes. Software tells you what happened and lets you overlay batches, which is most of the value. What it cannot do is move the gas valve, so consistency still depends on the person watching. Buy PLC control when the roaster will be run by staff or by someone who is also serving customers.
How many batches of data before RoR tells me something about the machine?
About twenty, logged with batch weight and the burner setting. Below that you are looking at coffee and weather; above it, patterns you can act on appear — a peak that sags at a particular batch size, a first crack that walks earlier every morning, a probe drifting month by month.
Does room temperature or a cold morning really move the curve?
Enough to notice, especially for your first batch and in an unheated roastery in winter. Your intake air and the machine's own metal both start colder, so peak RoR is lower and first crack later. Plan a longer preheat on cold mornings rather than chasing the curve with the burner.
Should I chase RoR in the moment, or fix it on the next batch?
On a production day, fix it next batch. Large corrections mid-roast turn a small deviation into a crash or a flick, and you lose a whole batch instead of a little consistency. Note what you saw, adjust the charge temperature or the burner step for the following batch, and keep the change small enough to read in the overlay.
Final Thoughts
Read rate of rise as a manager and it answers three questions: peak RoR is your burner headroom, the first-crack dip is your probe and drum, and drift across the day is your team's discipline. Every machine we build shows the curve; the fully automatic SD Pro roasters follow it for you, and the YS series gives you independent motors. Send us your batches per day and we will name the control level you need.
Get a quote or message Leon on WhatsApp at +86 184 0771 4607.
Get a Quote → WhatsApp +86 184 0771 4607Last updated: September 23, 2026
Pingback: Bean Temperature vs Exhaust Temperature on a Coffee Roaster
Pingback: Green Coffee Moisture, Density & Water Activity Checks
Pingback: Coffee Roast Color Meter (Agtron) for Production QC
Pingback: Coffee Roaster Thermocouple Calibration: 3 Checks First
Pingback: How to Roast Decaf Coffee Commercially: Profile, Probe & Yield
Pingback: Roasting Robusta vs Arabica: What Changes in the Drum & on the Line