
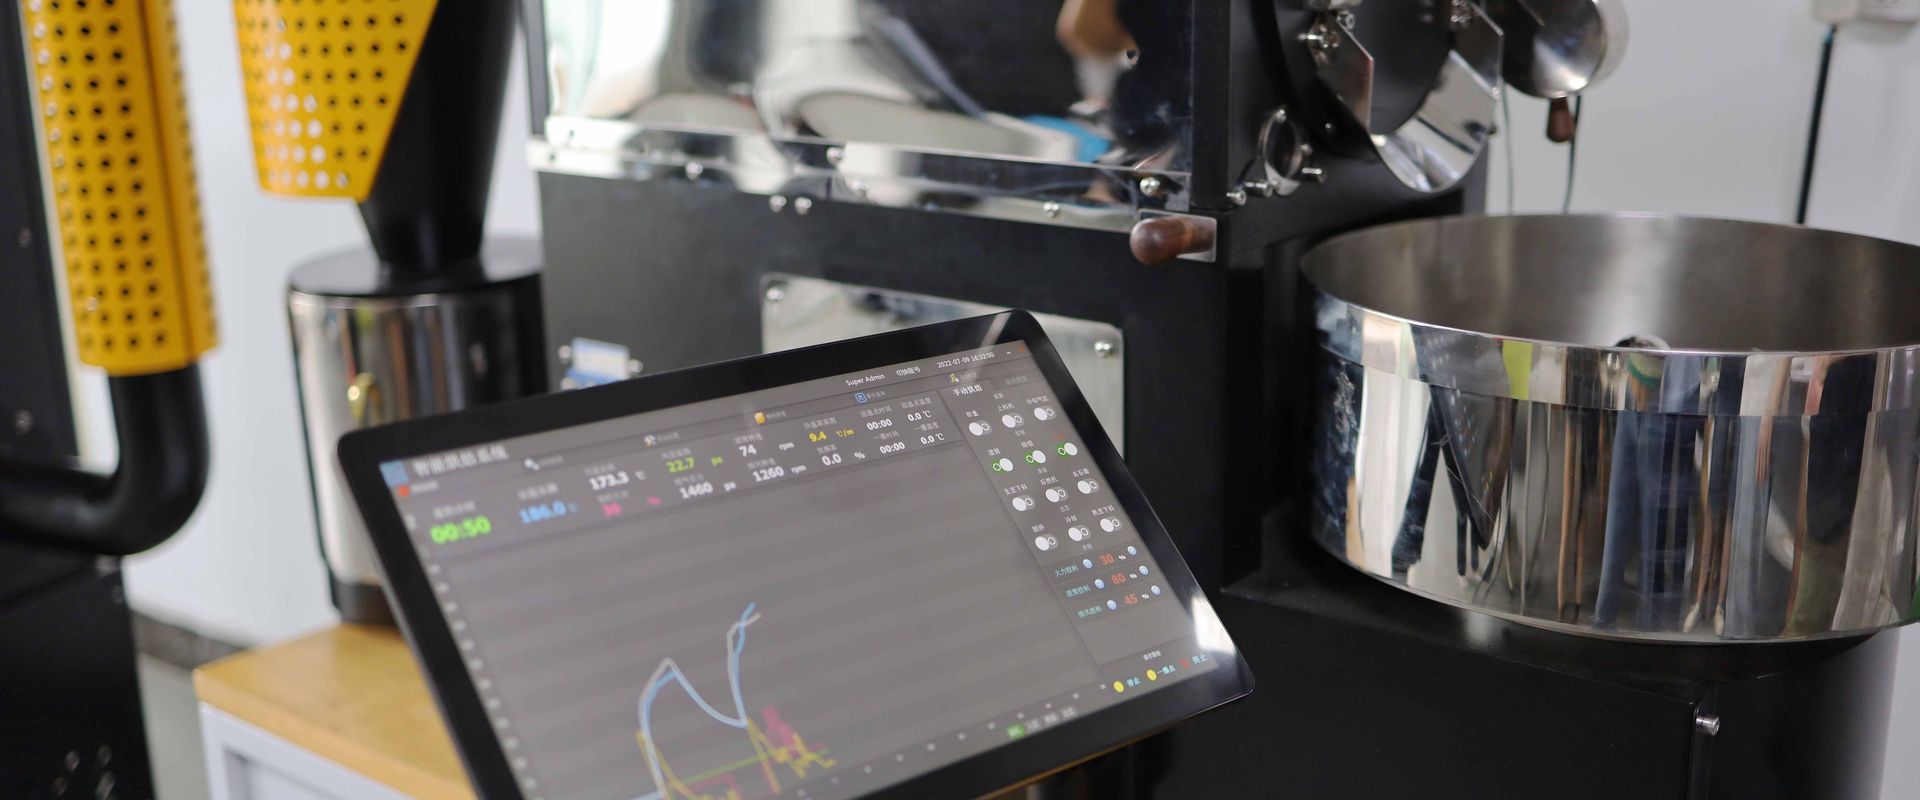
If you buy green by the pallet and sell to accounts that expect the same bag every week, a coffee cupping lab setup is the cheapest insurance you can buy — one rejected container costs more than everything on the bench below. Here is the minimum lab, the protocol worth standardising, the numbers to record at intake and on every batch, and how to trace a bad cup back to the curve.
Quality Control Is Loss Prevention, Not Perfectionism
Run the arithmetic for your own operation before you decide a lab is too expensive. If you roast 500 kg a month and 3% of production is off-profile, that is 15 kg of finished coffee lost monthly — plus the green, the gas, the labour and, far more expensively, the wholesale account that quietly stops reordering because their espresso moved. On the green side, cupping the offer sample and then the pre-shipment sample of every lot is the only mechanism that catches a substituted or degraded shipment before it lands in your warehouse and becomes your problem. Every piece of equipment below costs less than a single rejected container.
The Minimum Viable Cupping Lab
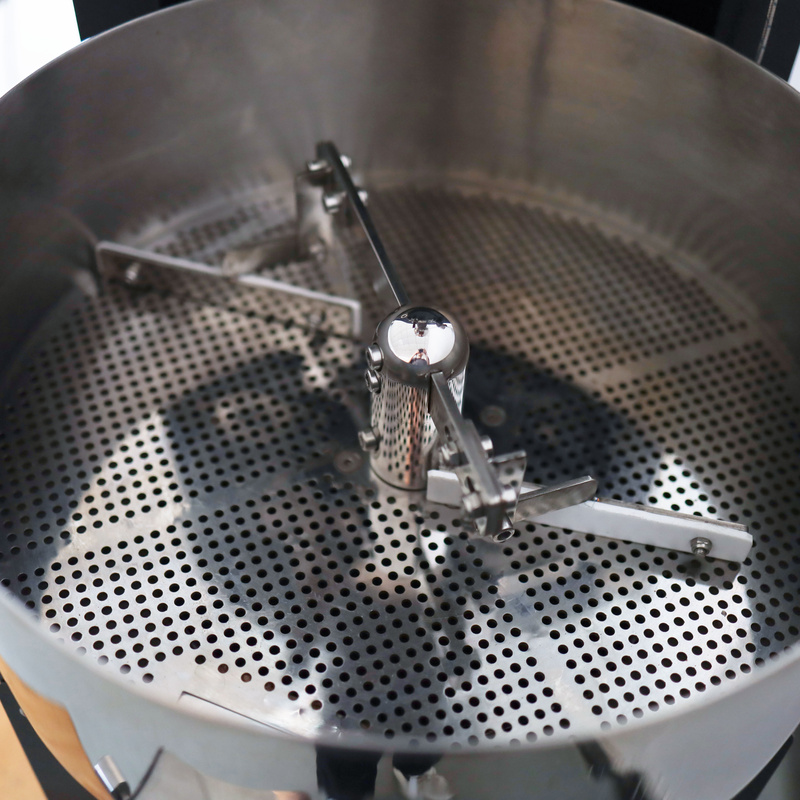
You do not need a laboratory. You need a clean, odour-free, well-lit table with a repeatable process. Budget figures below are indicative market ranges for third-party equipment and exclude the roaster itself.
| Item | Specification | Why it matters | Indicative budget (USD) |
|---|---|---|---|
| Sample roaster | 100-600 g, PID or digital control | Repeatable sample roasts; without it you cannot compare lots fairly | Request factory quote |
| Cupping grinder | Flat burr, dedicated to cupping only | Consistent particle distribution; no carryover from espresso work | 400-1,500 |
| Bench scale | 0.1 g resolution, 2 kg capacity | 8.25 g dose accuracy; weight-loss calculations | 40-150 |
| Temperature-controlled kettle | Set point 93 °C, +/-1 °C | Extraction consistency between sessions | 60-250 |
| Cupping bowls | Identical, 200-250 ml, tempered glass or porcelain | Equal thermal behaviour across the table | 3-8 each |
| Moisture and water-activity meter | Green coffee calibration | Intake acceptance and storage-life prediction | 400-2,500 |
| Colour meter | Agtron or equivalent, whole bean plus ground | Objective roast level and development check | 1,500-6,000 |
| Sieve set and defect tray | Screens 13-19, black tray | Screen distribution and defect counting | 100-400 |
The sample roaster is the one item you cannot improvise. Our EC-500G electric sample roaster uses PID control across a 100-600 g charge range specifically so that lot-to-lot differences you taste are differences in the coffee, not in the roast — see the sample roasters range and our guide to choosing a sample coffee roaster.
The Cupping Protocol Worth Standardising
Whether or not you score formally, follow the SCA mechanics — they exist to remove variables. Roast samples to a light-to-medium level, conventionally Agtron 58-63 whole bean with the ground reading no more than 10 points higher, in 8-12 minutes. Rest roasted samples at least 8 hours and cup within 24 hours. Grind immediately before pouring, coarse enough that roughly 70-75% of particles pass a 850 micron (US #20) sieve; our grind size chart shows how cupping grind compares to brew and espresso settings. Dose 8.25 g per 150 ml of water at a 1:18.18 ratio, pour at 92-95 °C, and let the crust stand undisturbed for 4:00 before breaking with three gentle stirs. Skim the foam, then begin evaluating around 71 °C and complete scoring before the cup falls below 21 °C. Score the standard attributes — fragrance/aroma, flavour, aftertaste, acidity, body, balance, uniformity, clean cup, sweetness and overall — and cup blind wherever possible, because knowing which sample is your own roast is the fastest way to bias a table.
Green Intake QC: Four Numbers Before You Pay
Log every lot you receive against four measurements. Moisture content should sit between 10% and 12%; below 9% the coffee is already losing shelf life and will roast fast and brittle, above 12.5% you risk mould and rapid degradation. Water activity below about 0.60 aw indicates good storage stability. Density of 700-750 g/L is typical for washed high-grown Arabica, and lower-density lots need gentler heat application. Defect count on a 350 g sample follows the specialty threshold of zero category 1 defects and no more than five category 2 defects. Add screen distribution: if a single lot spreads across screens 14 to 18, it will roast unevenly no matter how good your machine is, and you should either request a tighter screen or expect to accept some inconsistency.
High-moisture arrivals deserve your special handling. Indonesian wet-hulled coffee, for example, frequently lands at 14-18% moisture with a soft, low-density structure, and needs a longer drying phase and lower charge temperature than your standard washed profile.
Production QC: What to Measure on Every Batch
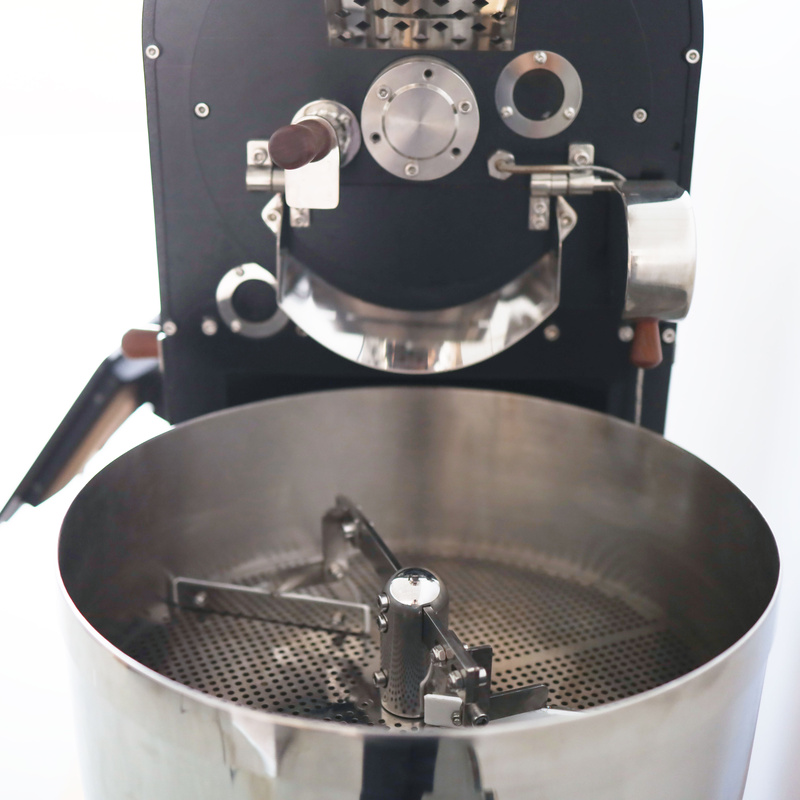
Retain a sample of every single batch you roast — 50-100 g in a labelled, sealed bag is enough — and record five numbers as the batch drops. Weight loss percentage is the cheapest development indicator you own: typically 12-15% for light roasts, 15-18% for medium, and 18-22% for dark. If yesterday’s medium roast lost 16.2% and today’s lost 13.8% on the same green, something changed regardless of what the clock said. Colour readings for whole bean and ground catch development problems: a gap wider than about 10 Agtron points between the two means the surface roasted ahead of the core. Drop temperature, total time and DTR complete the picture. Post-roast moisture of 1.5-3.0% is a useful fourth check if your meter supports roasted coffee.
A QC Log Template You Can Copy
| Field | Example entry | Acceptance range |
|---|---|---|
| Batch ID / date | 2026-0412-03 | Unique, sequential |
| Green lot number | COL-HUI-2411 | Traceable to intake sheet |
| Charge weight | 12.0 kg (80% of drum) | 60-90% of rated capacity |
| Charge temp | 198 °C | +/-3 °C of standard |
| First crack time | 9:05 | +/-20 s of standard |
| Drop temp / total time | 208 °C / 11:12 | +/-2 °C, +/-20 s |
| DTR | 18.9% | Target band +/-1.5 points |
| Weight loss | 15.4% | +/-0.8 points of standard |
| Colour (whole / ground) | 62 / 70 | Gap under 10 points |
| Cupping score / verdict | 84.0 — release | Release / hold / reject |
Keep the same fields in your Artisan batch notes so the log and the curve live together. Machine specification data — drum capacity, burner rating, airflow — belongs in the same folder; our roaster spec sheet guide explains which values to record at commissioning.
Simplified QC for Small Roasteries
No colour meter? Use three substitutes that cost almost nothing. First, weight loss percentage tracked to one decimal place — it correlates strongly with development on a fixed green lot and needs only a 0.1 g scale. Second, a set of printed roast colour reference discs or a jar of “gold standard” beans from a batch you approved, compared in consistent daylight-balanced light. Third, triangulation cupping: set three cups where two are the reference batch and one is today’s production, and have a colleague place them blind. If your team cannot pick the odd cup out, today’s batch is within tolerance. That test alone catches most drift, and it costs nothing but ten minutes.
From the Cupping Table Back to the Curve
QC only pays if your findings reach the roaster. Build the habit of naming the fault in profile language, not vague terms: “bready and flat, no sweetness” points to a stalled rate of rise mid-roast; “grassy, sour, drying” points to a development ratio that is too short; “ashy with a carbon bite” points to excess heat in the first two minutes. Pull the curve for that batch ID, overlay it on the approved reference, and look for where the two diverge — the divergence is almost always 60-90 seconds earlier than the point where you first noticed a problem. Then change one variable and re-cup. Our roast profile development guide covers that correction loop, and batch sizing explains how loading affects consistency before profiling can help at all.
Frequently Asked Questions
How much space does a cupping lab need?
A table two metres long in a clean, well-lit room with no smell — not a corner of the roasting floor, where chaff dust and exhaust reach the cups. Six square metres is enough for the bench, the sample roaster and shelving for retained samples; what matters more than area is that the room can be closed off and kept at a steady temperature so the water and the bowls behave the same every session.
Who should cup — the roaster or someone else?
Both, and blind. The roaster knows what they intended, which is exactly why they will taste it; a second palate that does not know which cup is the reference is the check that catches drift. Train one other person on the protocol, rotate who pours and who scores, and keep the sheets. A small team that cups together twice a week is worth more than one expert cupping alone.
How long should I keep retained samples?
Until the coffee from that batch has been sold and drunk — three months is a practical minimum, six is better for wholesale accounts. Fifty grams in a labelled, sealed bag on a dated shelf is what lets you cup batch 0412-03 next to the customer's complaint and settle whether the roast moved or their grinder did. Rotate the shelf with the same FIFO discipline as the green store.
Which sample roaster suits a cupping bench?
One with digital control at 100–600 g so the roast is the same every time and the differences you taste are the coffee's: the EC-500G electric sample roaster at USD 1,699 is built for that job, and the SD 100G Plus at USD 899 covers a cupping bench that only needs 100 g roasts. The sample roaster guide compares them; either logs to Artisan so the sample curve sits in the same folder as the QC sheet.
Do I need a colour meter before I sell to cafes?
No — weight loss to one decimal place, a reference jar of approved beans and blind triangulation catch most drift for the cost of a scale. Buy the colour meter when a wholesale customer specifies a roast level in Agtron, when you run more than one roaster and need the two to match, or when your volume makes a 3% rejection rate expensive enough to justify the instrument.
Final Thoughts
A coffee cupping lab setup is a measurement discipline more than a room: the same protocol every session, four numbers before you pay for green, five numbers as every batch drops, and a habit of naming faults in profile language so the finding reaches the drum. Start with the minimum bench and add instruments as your volume justifies them. Send us your monthly volume and lot sizes for a sample-plus-production pairing. Talk to our engineers.
Get a Quote → WhatsApp +86 184 0771 4607Last updated: September 23, 2026
Pingback: Private Label Coffee Roasting Setup: Equipment, Volume, Process
Pingback: Coffee Roastery Layout and Space Requirements by Capacity
Pingback: Coffee Roaster for Ethiopia & East Africa: Voltage, Gas, Ports