
If your shots have been running faster at the same setting and you keep dialling finer to catch them, your burrs are worn — and no amount of dialling will bring them back. Learning to replace grinder burrs, and to align them afterwards, is a 45-minute job that returns a grinder to as-new performance for the price of a set of discs. Here is when, how, and the alignment step that explains most "new burrs grind worse" complaints.
When Burrs Need Replacing: Real Lifespan Numbers
Your burr life is measured in kilograms of coffee, never in months. Use these as planning figures for flat burrs in espresso duty; conical burrs generally last 1.5–2 times longer because the cutting load is spread over a larger surface.
| Burr type | Espresso duty life | Filter / coarse duty | Notes |
|---|---|---|---|
| 58–64 mm hardened steel flat | 300–500 kg | 500–800 kg | The standard cafe workhorse |
| 75–83 mm steel flat | 700–1,200 kg | 1,000–1,500 kg | Larger cutting area, lower RPM, less heat |
| Titanium- or DLC-coated flat | 600–1,000 kg | 1,000–1,600 kg | Roughly double a steel set; coating cannot be re-applied once worn through |
| Conical steel | 600–900 kg | 900–1,400 kg | Degrades gradually rather than falling off a cliff |
Dense high-grown beans and very dark roasts both chew your edges faster, and any foreign object — a stone, a staple, a stray screw — can chip an edge in a second. For a cafe grinding 4 kg a day, 400 kg means a burr change roughly every 100 working days, about three to four months. A retail bulk grinder doing 20 kg a day might reach 1,000 kg in seven weeks; see our notes on bulk grinders for roastery retail.
Five Signs Your Burrs Are Worn
-
Shots run faster at the same setting. A recipe that poured 36 g in 28 seconds last month now pours in 21 seconds with identical dose and coffee — your burrs are shearing instead of cutting.
-
You keep dialling finer. Needing 2–3 clicks finer every few weeks for the same coffee means you are compensating for lost edge geometry, and you will eventually run out of range.
-
More fines, more bitterness. Worn burrs crush rather than slice, widening particle distribution. The cup goes muddy and astringent, and you cannot dial it out.
-
Noticeable heat. Dull edges take more work to break a bean, and that work becomes heat. Grounds warm to the touch after a normal dose are a warning.
-
Changed noise. A crisp grind turning into a low gravel rumble or a new rattle points at worn edges or a loosening burr screw.
Confirm before spending. Pull the top burr and inspect the outer cutting teeth under strong light: sharp edges catch the light as a fine line, worn edges look rounded and polished. If you are unsure your burrs are the fault, rule out retention first — stale grounds in the chute mimic every symptom above, as our guide to grinder retention and static explains.
Before You Start: Tools and Preparation
Set aside 45–60 minutes and gather everything first. Stopping halfway to hunt for a screwdriver is how zero points get lost.
-
Unplug your grinder. Not switched off — unplugged. A commercial grinder motor starting with your fingers near the burr chamber is a serious injury.
-
Correct screwdrivers or hex keys. Most commercial burr screws are M4 or M5 Torx (T20/T25) or hex; a poorly fitting driver rounds the head instantly.
-
A small torque driver if you have one; burr screws typically want 2–3 Nm — snug, not heroic.
-
New burr set and new screws. Old screws that have been under a vibrating motor for two years strip easily, and one seized screw can cost you a day.
-
Stiff brush, vacuum with a narrow nozzle, lint-free cloth, and a small amount of food-safe grease for the adjustment threads.
-
Phone camera, a notepad, and a permanent marker.
-
200–300 g of cheap season beans for break-in.
Record your zero point before touching anything. With your grinder empty and running (or, on stepped grinders, by hand with power off), turn the adjustment collar finer until your burrs just begin to chirp against each other — that faint metallic contact is zero. Note the collar position against a fixed reference mark, then back off to your working setting and note that number too. Photograph the collar, the burr carrier orientation, and the screw pattern. On many grinders your burrs are keyed, but not all, and photos save guesswork.
Step-by-Step Burr Replacement
-
Unplug and empty. Remove the hopper, empty the beans, and run your grinder briefly beforehand to clear the chamber — then unplug. Close the hopper gate first if your machine has one.
-
Find and record zero. As described above. Skipping this step means re-establishing your grind range blind afterwards.
-
Remove the adjustment collar / upper burr carrier. Most designs unscrew anticlockwise; some have a retaining pin or grub screw to release first. Do not force a collar that will not move — check for a locking tab.
-
Remove the upper burr. Loosen the three (sometimes four) screws in a diagonal sequence, a half-turn each, rather than removing one fully first. This keeps the disc flat and stops it binding.
-
Remove the lower burr. On many grinders the lower burr sits on the motor shaft carrier. Hold the carrier still — a wooden dowel through the chute or the manufacturer’s locking tool, never a screwdriver against the motor.
-
Clean both seats thoroughly. This is the step that decides how well the new burrs perform. Vacuum out old grounds, then brush and wipe the mounting faces until they are bare metal. A single compacted coffee grain 0.3 mm thick under a burr disc tilts it enough to ruin alignment.
-
Inspect while you are in there. Check the shaft for play, the fan for damage, and the chute for hardened coffee residue. Any wobble in the shaft means bearings, not burrs — stop and contact support.
-
Fit the new burrs. Match orientation to your photos, respect any alignment pin or keyway, and start all screws by hand before tightening any of them.
-
Tighten diagonally and evenly. Cross-pattern, in two or three passes, ending at roughly 2–3 Nm. Uneven torque is the single most common cause of a misaligned new burr set.
-
Reassemble and re-find zero. Refit the collar, then walk the adjustment in slowly until you hear first contact. Your new zero will almost certainly not match the old one — new burrs are thicker than worn ones, so the collar will sit at a different number.
-
Season your burrs. Run 200–300 g of cheap beans through at a medium setting. Fresh cutting edges have microscopic burrs of their own; grinding them off stabilises performance. Do not judge shots before this is done.
-
Plug in and test under load. Listen for rubbing, check that output temperature is normal, and confirm your grinder reaches both ends of your working range.
Burr Alignment: The Step Most People Skip
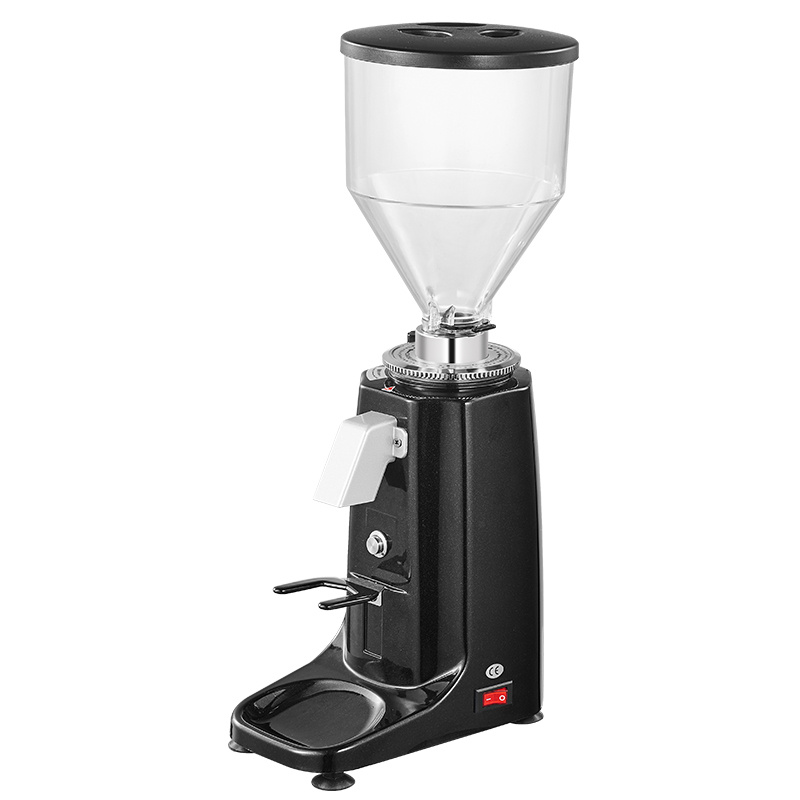
Aligned burrs sit perfectly parallel, so the gap is identical all the way around. A tilt of even 0.05 mm gives a wide gap on one side and a narrow one on the other, producing coarse and fine particles from the same pass — which is why a badly seated new set can genuinely taste worse than the worn set it replaced.
The marker test. With your grinder unplugged, colour the flat cutting face of one burr with permanent marker; the outer 5–8 mm ring is what matters. Reassemble, bring the grind close to zero, and rotate your burrs against each other by hand a few turns. Disassemble and read the marks: ink rubbed evenly all the way round means good alignment; ink gone on one arc and untouched on the opposite arc means the discs are tilted, and the untouched side is the wide side.
Shimming. The correction is a shim — a thin washer or ring, typically 0.05–0.15 mm — placed under the low side of the burr carrier to tilt it back into plane. Add one thickness at a time, retest with marker, and stop when the ring wears evenly. Foil works at roughly 0.02 mm per layer, but steel shims stay stable under vibration and heat. Shimming shifts your zero point, so re-find it after each change, and never shim so far that your burrs touch unevenly at working settings.
Alignment matters most for espresso, where particle distribution decides extraction; filter and bulk retail duty is far more forgiving. See our comparison of espresso vs filter grinder burr types and our 64 mm flat burr single-dose grinder guide.
Recalibrating and Re-Dialling Afterwards
Treat your grinder as new. Start 2–3 clicks coarser than your old espresso setting and work finer, because fresh burrs cut more efficiently and the same dial number now yields a finer grind. Re-dial systematically: fix your dose (say 18.0 g), fix your yield (36 g), then move grind size only until you hit the target time, and log the new setting for each coffee. Expect small drift over the first 2–3 kg. For grind targets across brew methods, use our coffee grind size chart; and never change burrs and roast profile in the same week — one variable at a time. If you are still building the production line, our coffee roastery equipment setup guide sequences the install.
Safety, Warranty and When to Call for Help
Burrs are a declared wear part on virtually every commercial grinder, so fitting a correct replacement set yourself does not void the warranty. What can void it is collateral damage: stripping a carrier thread, running your burrs together under power, or cracking a seized collar by forcing it. Anything beyond the burr chamber — motor, bearings, capacitor, gearbox — is service work, not maintenance.
Call for support if the shaft has visible play, a screw rounds off, the marker test still shows uneven contact after two shim attempts, or your grinder heats or vibrates abnormally after reassembly. We routinely walk buyers through the job on a WhatsApp video call, which beats any written guide for a specific model.
Spare Burrs and Sourcing
Keep one spare burr set and one spare screw set on the shelf for every grinder in daily service. A cafe grinding 4 kg a day loses its espresso programme the moment your burrs go dull, and emergency air freight on a burr set costs several times the part. We hold burr sets and screw kits in stock for your grinder models we supply, shipped by international courier, and it is cheaper to ship spares alongside your machine.
When ordering, quote your grinder model, burr diameter in mm, the number and pattern of mounting holes, and whether the set is espresso or filter geometry — diameter alone is not enough, since several 64 mm sets share a size but not a bolt pattern. Browse our commercial coffee grinder range for cafe units and our industrial coffee grinder line for roastery and retail packing duty. If your grinder is the second link in a chain that starts with green beans, the first is roasting: our own factory has built commercial coffee roasters since 1990, and matching roaster, grinder and espresso machine together avoids the capacity mismatch we see constantly.
Frequently Asked Questions
Can I sharpen worn burrs instead of replacing them?
No — the cutting geometry is machined, not ground onto a blank, and once the teeth round over there is no way to restore the profile in a workshop. Coated burrs are worse candidates still, because the coating is what did the cutting. Treat burrs as the consumable they are, keep a spare set per grinder, and spend the sharpening money on the kilo log that tells you when the next change is due.
How do I record burr life if I do not weigh every dose?
Count bags, not doses. Note the date a set is fitted and the kilos of coffee delivered to that grinder from then on — every bag opened is a kilo, or a quarter kilo — and you have the figure to within a few percent. Write it on a label inside the hopper lid; when the total reaches the planning figure for your burr type, order the set before your shots start drifting.
Should I upgrade to a different burr geometry when I replace?
Only with a reason and a test. Aftermarket geometries for common 64 mm and 83 mm formats can change the particle spread — more clarity, less body, or the reverse — and your dial-in, your dose and sometimes your customers' expectations move with them. If you are curious, run one bar on the new geometry for a month against the old on the other; if you are busy, fit the original specification and get the alignment right.
Do you supply burrs for grinders you did not sell?
For the common formats, often yes — 58, 64, 75 and 83 mm flat sets and standard conical sets fit many machines across the trade — but the mounting pattern, thickness and rotation must match, so send the model and a photo of the burr chamber and the old set before you order. For your grinders we supply, the sets are stocked with screw kits and ship by international courier; the 64 mm guide covers that class.
What else should I change while your grinder is open?
The things that are cheap now and expensive on a Saturday: the burr carrier screws if any thread is tired, the chamber gasket, the anti-clump screen if fitted, and the sweep or impeller if it shows wear. Clean the exit chute to bare metal while you are there — it is the main source of retention, and the retention guide shows how to check it — and note the dose spread after the first hundred grams so you have a new baseline.
Final Thoughts
Replacing grinder burrs is a kilo-count decision and a 45-minute job, and the difference between a grinder that comes back as new and one that grinds worse is the alignment step: clean seats, diagonal torque, a marker test and shims where needed. Keep a set on the shelf, log the kilos, and re-zero after every change. Send us your grinder model and we will confirm the set. Talk to us.
Get a Quote → WhatsApp +86 184 0771 4607Last updated: September 17, 2026
Pingback: Espresso Grinder Burr Size: 64, 75 or 83 mm for Your Café's Peak Hour
Pingback: Coffee Grind Size Chart: Microns by Method and Roast Level | Yoshan
Pingback: Commercial Coffee Grinder Buyer's Guide: Size the Burrs | Yoshan
Pingback: Commercial Turkish Coffee Grinder: Fineness, Heat, Output
Pingback: Stepped vs Stepless Grinder Adjustment for Cafés