
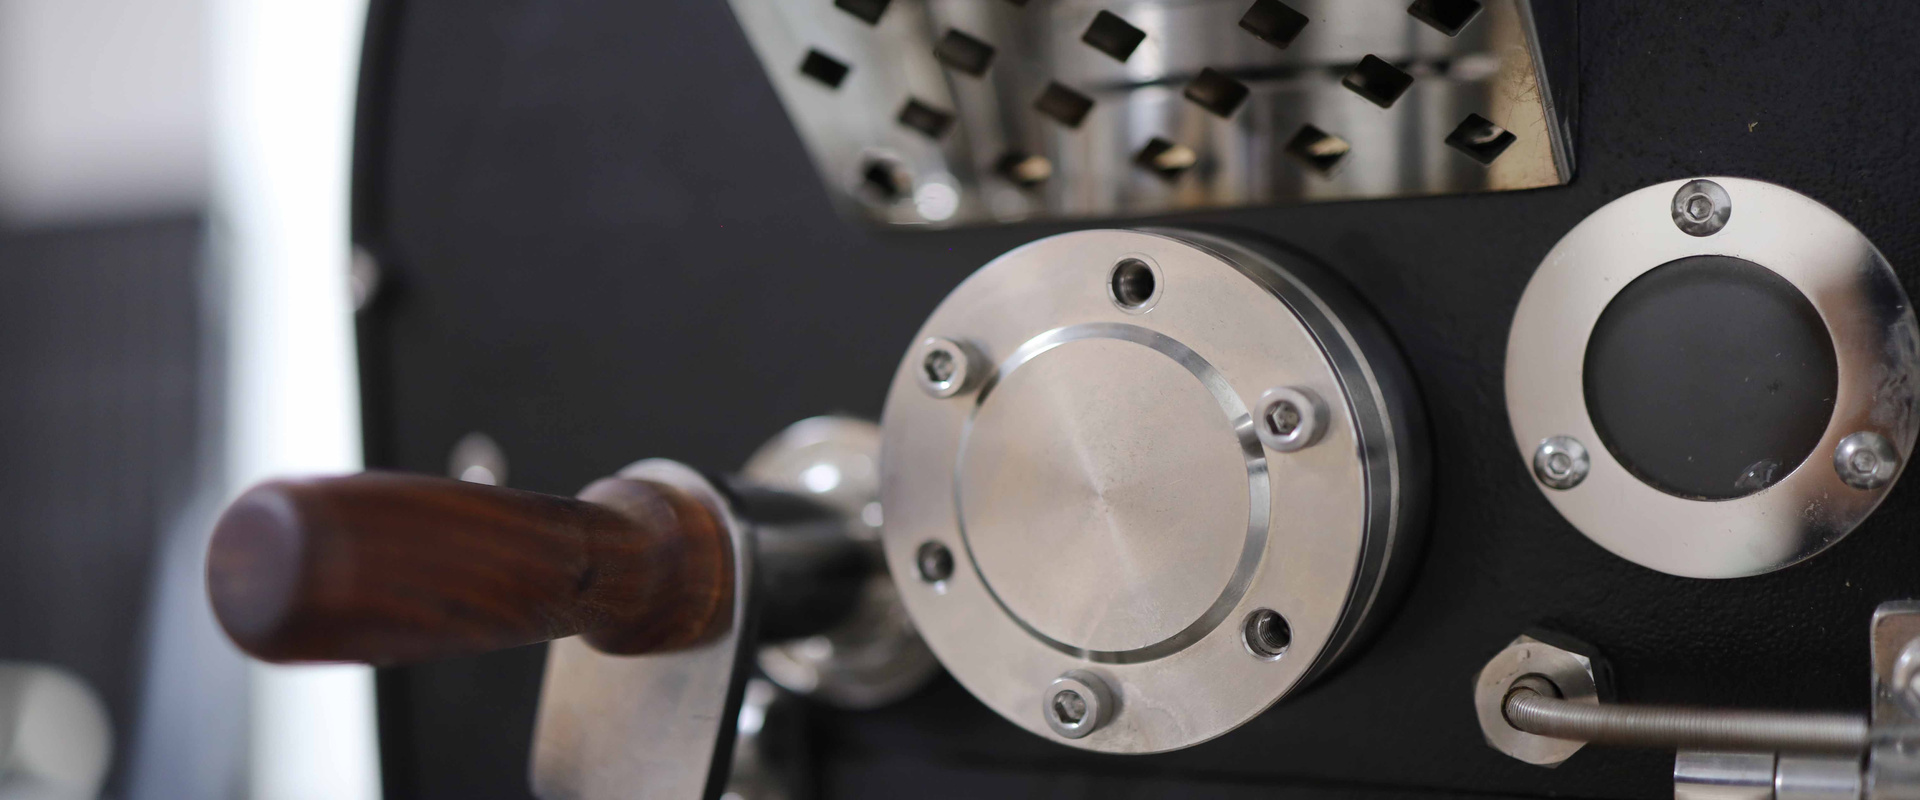
Every drum roaster turns on two bearings, one at each end of the drum shaft, and they are the part most likely to stop a roastery — usually on a Monday morning with orders due. Most guides explain greasing. This coffee roaster bearing replacement guide covers the rest: the three signals that say a bearing is going, the replacement sequence, what differs between a light stainless drum and a heavy cast-iron one, and how a roastery overseas gets the part in days rather than weeks.
Greasing: the part everyone covers, briefly
Drum bearings run hot — the shaft carries heat from the drum — so they take a food-grade, high-temperature grease rated well above the bearing's working temperature; roasters typically use greases rated to around 200 °C or more continuous. Grease points are on the housings at both ends of the drum shaft, and on some machines at the drum-door pivot and the drum-position adjuster; hidden nipples need an angled adapter on the gun.
The rule that matters is little and often. Pump until you feel resistance, then stop — over-greasing pushes old grease into the drum and onto the coffee and can blow a seal. Intervals vary by machine and hours: a common production rule is a few pumps every twenty or so roasting hours, and a full clean-out of old grease when the bearing is opened. Put greasing on a fixed interval in the maintenance calendar rather than waiting for noise; the whole routine is in the commercial coffee roaster maintenance schedule.
The three signals that say "replace", in the order they appear
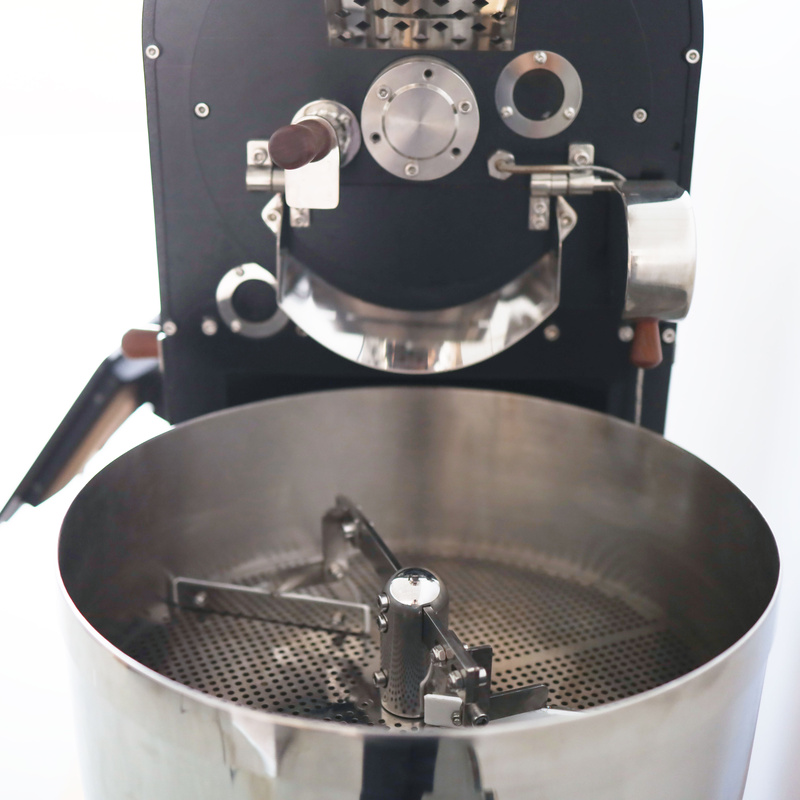
Bearings rarely fail suddenly. They announce themselves in a sequence, and the third signal comes before the first on a well-monitored machine.
Signal 1 — the drum drops. A worn bearing lets the shaft settle by a fraction of a millimetre. The drum, which runs with a small clearance to the front plate, starts to touch it: a scraping at one point in the rotation, or a shiny wear line on the plate. On machines with an adjustable drum position the operator may have been "correcting" this for weeks. Any change in the drum-to-plate gap is the earliest mechanical sign.
Signal 2 — the motor works harder. A bearing that is drying out or pitting adds drag, and the drum motor draws more current to keep speed. On a machine with an ammeter or a PLC that logs motor load — our YS series drives the drum with its own independent motor — a slow rise in drum-motor current over weeks is a bearing warning before there is any noise. On a machine without instrumentation, a clamp meter on the motor lead once a month does the same job.
Signal 3 — sound and heat. A dry rumble, then a grinding or squeal that changes with drum speed, and a housing that is hotter to the hand than it was. By this stage replacement is due within days, not months; a bearing that seizes can score the shaft, which turns a small job into a large one.
Manual check between roasts: with the machine cold and the drive disconnected, turn the drum by hand. It should turn smoothly and silently; roughness, catching or a gritty feel through the shaft is confirmation.
| Signal | What you notice | Time left | Action |
|---|---|---|---|
| Drum drops | Scraping at front plate, gap changes | Months | Order bearings, plan a downtime |
| Motor current rises | Amps up 10–20% at same speed | Weeks | Confirm by hand-turn, schedule replacement |
| Noise and heat | Rumble, squeal, hot housing | Days | Stop, replace before the shaft is damaged |
Replacement: the sequence
Bearings on a drum roaster are standard industrial pillow-block or flange units, and the job is mechanical rather than specialist. The sequence is the same on every drum machine; the effort depends on the drum.
- Cool and isolate. Machine cold, gas off, electrical isolated.
- Disconnect the drive. Remove the chain or belt from the drum sprocket so the drum turns freely; on the YS series that is the drum motor's own drive, separate from the fans.
- Support the drum. This is the step that differs by machine — see below. The drum must be held at working height while the bearing at one end is removed, or the shaft will drop and the drum will rest on the front plate.
- Remove the old bearing. Loosen the housing bolts and the set screws or locking collar on the shaft; slide the unit off. Clean the shaft and check it for scoring.
- Fit the new bearing with fresh grease, seat the locking collar, and bolt the housing loosely.
- Set the drum position. Re-establish the clearance between drum and front plate — the adjuster is there for exactly this — then tighten the housing.
- Reconnect the drive, turn by hand, then run empty at working temperature for a batch cycle before roasting.
Do both ends at once if the machine has more than a couple of years on it; the second bearing has had the same life as the first.
Light stainless drums — DY series, sample machines. A 1–2 kg drum is light enough that two people can support it by hand or with a block while the bearing is changed. Our DY-1 weighs 130 kg complete and the DY-2 150 kg; the drum itself is a fraction of that.
Heavy cast-iron drums — SD and YS series. A cast-iron drum on a 6–15 kg machine weighs far more than can be held by hand, and the whole machine is 280–760 kg. Support the drum on a jack or a padded stand through the door or under the shaft before the bearing comes off, and plan the job for two people with a half-day. The drum's mass is what gives these machines their thermal stability, and it is also why the bearing job is bigger — the trade-off is in cast iron vs stainless steel drums.
Sourcing the part abroad: days, not weeks
The point most guides miss is that a drum bearing is a standard industrial part, identified by a code on the housing or the inner ring. A roastery in Manila, Nairobi or Bogotá does not need to wait for a shipment from the factory if it knows the code — an industrial bearing supplier in any city stocks common sizes, and a machine-shop can press one in the same day. A customer of ours in the Philippines runs exactly this arrangement: our parts list on file, a local supplier identified in advance, and a spare pair on the shelf.
Two routes, in order of speed:
- Local purchase. Read the code off the old bearing or from the manual's parts list, buy from a local industrial supplier, fit the same day. Confirm the grease rating.
- From us. Send the machine's serial number and a photo of the housing; we confirm the part and send it by air express. Parts failing without human damage within the first year are replaced and shipped by air at our cost, with 24/7 lifetime phone and online technical support for the fitting.
Either way, keep a spare pair before you need them. Bearings belong on the shelf with the belt, the thermocouples and the fuses — the list is in coffee roaster spare parts to keep.
Making bearings last
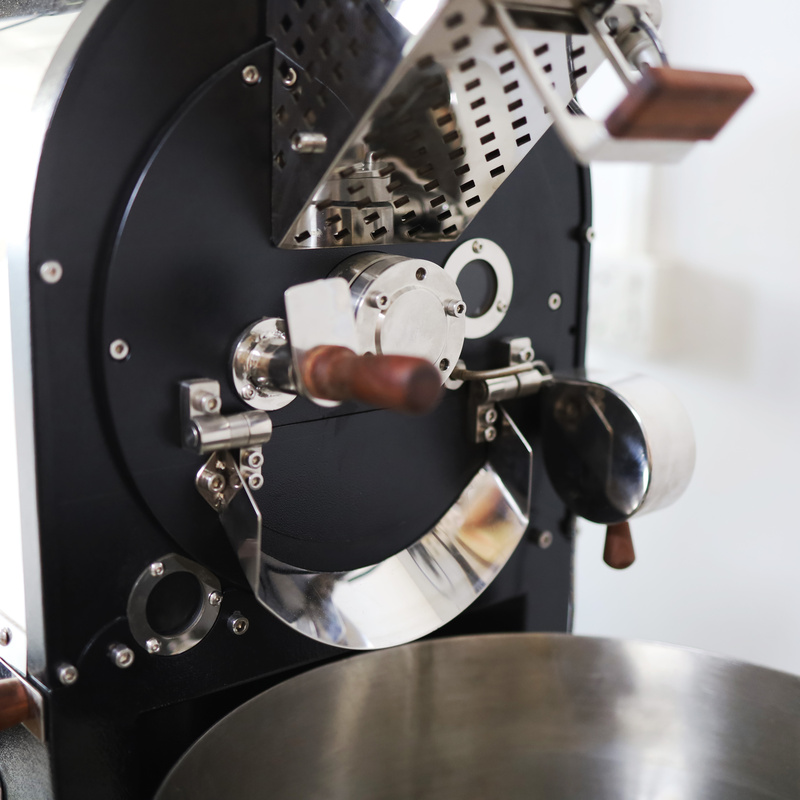
- Grease little and often with the right grease; never with a general-purpose lithium grease that breaks down at drum temperatures.
- Keep the chaff collector and the area around the housings clean — chaff packed against a hot housing insulates it and raises the bearing temperature.
- Do not run the drum empty at full heat for long periods; the shaft carries more heat to the bearing when there is no bean mass to absorb it.
- Log drum-motor current monthly; it is the cheapest early-warning instrument a roastery owns.
FAQ
How often should I grease coffee roaster bearings?
Little and often: a few pumps of food-grade high-temperature grease at each shaft-end housing on a regular schedule — weekly on a production machine, or roughly every twenty roasting hours — stopping as soon as you feel resistance. Clean out the old grease whenever the bearing is opened.
What grease is used for coffee roaster bearings?
A food-grade grease rated for continuous use well above the bearing's working temperature — typically 200 °C or higher. Ordinary lithium grease thins and runs out at drum temperatures and is the usual cause of a bearing failing early.
How do I know when roaster bearings need replacing?
Three signals in sequence: the drum drops slightly and begins to touch the front plate; the drum motor's current rises at the same speed; then a rumble, squeal and a hot housing. Confirm by turning the drum by hand with the drive disconnected — roughness or catching means replace.
Can I replace coffee roaster bearings myself?
Yes. They are standard pillow-block or flange bearings. Isolate the machine, disconnect the drive, support the drum, swap the unit, reset the drum-to-plate clearance and test empty. A light stainless drum is a two-person hand job; a cast-iron drum needs a jack or stand and a half-day.
Where can I buy bearings for a coffee roaster?
From any industrial bearing supplier, using the code on the old bearing or in the parts list — usually the fastest route for a roastery overseas — or from us by air express with the serial number and a photo of the housing. Within the first year, parts failing without human damage are replaced at our cost.
Why is my coffee roaster drum scraping?
Most often a worn bearing letting the shaft settle so the drum touches the front plate; occasionally a drum-position adjuster that has moved. Check the bearings before adjusting the drum position, or you will hide the symptom until the bearing fails.
Final Thoughts
Grease little and often, watch for the drop, the current rise and the noise in that order, and keep a spare pair with the bearing code on file so a local supplier can have you roasting the same day. Every commercial coffee roaster from our factory ships with its parts list, and the warranty and spare-parts terms cover the first year by air express.
Get a quote or message Leon on WhatsApp at +86 184 0771 4607.
Get a Quote → WhatsApp +86 184 0771 4607Last updated: September 23, 2026
Pingback: Coffee Roaster After-Sales Support: Four Real Cases | Yoshan
Pingback: Coffee Roaster Troubleshooting: Burner, Drum, Probes & Airflow